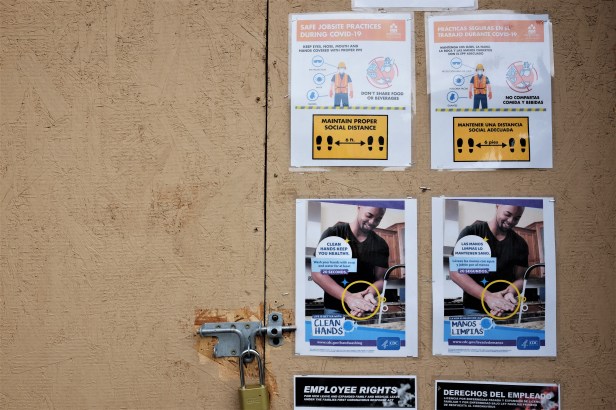
Soon after my last post, a COVID-19 lockdown was imposed in my state so construction was halted for over a month. Work resumed in May, under state-mandated rules for workplace protection against the coronavirus. Electrical wiring and ventilation ducting for the heating and air conditioning system were run through the walls and floors, followed by insulation. The local gas utility installed a line and meter at the property. Drywall panels were delivered this week so work on that will start soon.
Meanwhile, the built-in cabinetry arrived from Germany in late April but will have to remain in the warehouse for at least another month before it can be installed. When I decided to switch from a local cabinetmaker whom the builder recommended to a European one, mainly for the latter’s build quality, my contractor warned me about possible delays. Thankfully, my order was already on a container ship before Germany started locking down businesses, so it arrived as originally scheduled.
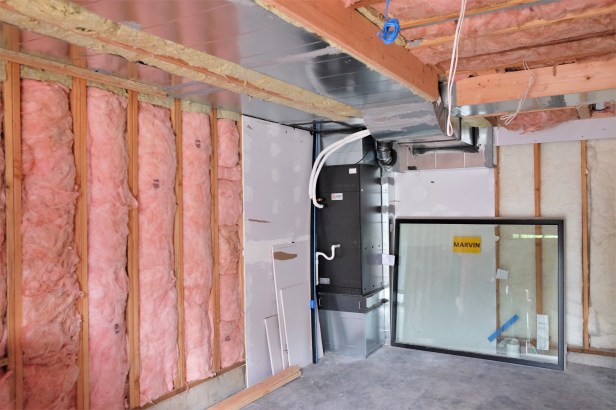
Ductwork for heating & air conditioning
Although the original plans included a mini-split HVAC system, I decided to switch to a ducted, forced-air HVAC system. I can’t remember how I made the decision; I didn’t dwell on it for very long. Most likely, I switched in order to hide all the air handling from view. No matter how new they are, mini-split units just look dated to me. After some research, I discovered that a centrally fed system is more efficient. However, the change meant that the ceiling in the garage and downstairs bathroom had to be lowered to accommodate ductwork, so one consequence of the decision is reduced space in the garage.
A soffit enclosing ductwork (pictured below) also had to be added to one of the downstairs bedrooms. This duct interrupts the ceiling of the adjoining hallway as well. Because the window at the other end of that hallway had already been ordered, lowering the ceiling was no longer an option. Nonetheless, the soffit interrupting the hallway ceiling is a good compromise for hiding all the air handling from view. On the main living floor upstairs, the only visible elements of the HVAC system would be in-floor registers bringing heated or cooled air in and returns in the toe-kicks of kitchen cabinets to circulate air back into the system.


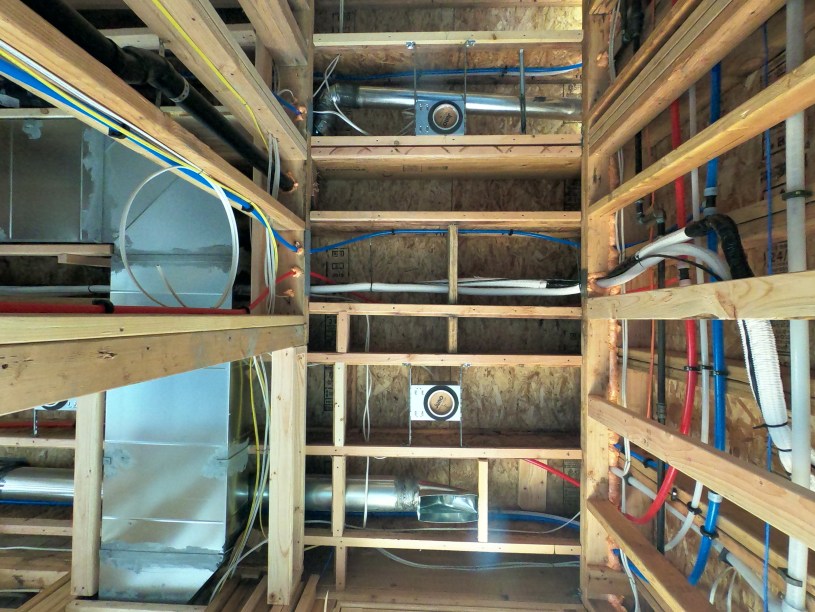
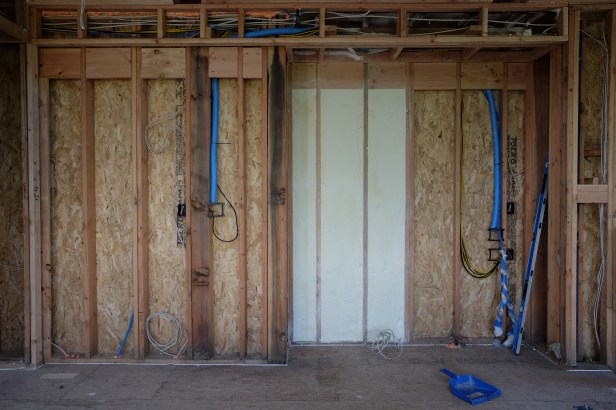
Electrical & broadband wiring
Compared to choosing an HVAC system, electrical and broadband wiring options are far more numerous, so I had many more decisions to make. It hasn’t helped that the builder’s electrician is more of a “Just tell me what you want and I’ll get it done” kind of guy rather than a “Here are your options and their pros and cons” type that I would have wanted him to be. In hindsight, I should have done more research on my own before I had to make decisions. The wiring decisions I’ve made fall into these buckets:
- power outlets
- lighting
- internet & security
Power outlets. The location of power outlets is specified in the building code, so this was an area where I had little input. An outlet is required for every six feet of wall, so there are a handful of outlets that I likely won’t ever use. I did have a floor outlet added in the living room, where I can plug an end table lamp to. I also raised the location of some outlets to make them more accessible, for example above closet shelving. We also planned for possible locations for an electric vehicle charger. I considered other unusual outlet locations but eventually scrapped them. For example, I was thinking of getting a USB outlet in the shower of the primary bedroom suite, to plug in a waterproof speaker or other device. Waterproof outlets are widely available for use on boats, but installing one on terra firma would have required a transformer and special wiring. Since I take quick showers, in the end I wasn’t willing to take on the extra cost and added complexity for something I likely wouldn’t use much. I also chose not to have any window blinds wired, having found adequate battery- and solar-powered options. I also vetoed the architect’s specification of minimalist, designer outlets for the kitchen island, which turned out to be ten times more expensive than a regular outlet. (In hindsight, I should have asked this question more generally: Is there anything in the design or specifications costing more than five times compared to something else that would serve the same function reasonably well?)
Lighting. Many elements of the architect’s design, most notably the light well next to the living room (click on the tag below to link to other posts on it), promise to bathe my home in lots of natural light during the day. In contrast, his lighting design only included ambient lighting, from LED can lights in every room. To this, I added task and accent lighting by specifying pendant lamps over the dining table, kitchen island and foyer. I chose a 4-foot linear pendant over a 6-foot-long version for the kitchen island, which the architect thought was a good choice because the longer version would have been overscaled relative to the 7.5-foot long island. I also chose a wall-mounted bedside lamp for the main bedroom. I considered having some walls wired for picture lighting but chose not to pursue it, opting for can lights that can swivel towards the wall instead. One idea of mine which is still under consideration are LED strip lights under the clerestory windows above the living room (pictured below) and under a floating bookshelf in the study. The strip lights under the clerestory windows would light up the ceiling and provide lighting at night that the clerestory windows provide during the day.


Mapping out which light switch operated which light fixture was actually quite fun. Rather than consider each light and map out where it should be turned on or off from, I found it more helpful to position myself at every doorway and then think about which lights I may want to turn on from that location. This resulted in a number of lights being switched from more than one location, especially living room lights, and a few unusual light switch locations. For example, since the main shower has a window to the light well (pictured below), a light switch next to the shower will turn on exterior lighting in the light well.


Internet & security. All bedrooms and the living room were connected with coaxial cable and ethernet wiring, which I upgraded to category 6. In addition, a smurf tube (pictured below) was installed to connect a wall-mounted TV in the living room to a nearby shelf which would house the cable internet router, game console, and other entertainment devices. The TV and shelf will be separated by a gas fireplace. We also wired exterior locations with ethernet cable that would power security cameras around the property.
Other in-wall systems
Ducting for the range hood, hardware for pocket doors and the tank for a wall-mounted toilet have also been installed. When we finalized the location of the stove top to be next to the kitchen windows, I expected to have a range hood block some of the light from those windows. I was delighted when I came across a range hood that’s flush to the ceiling in an appliance showroom. I did some research and found great reviews (I’ll post one here after I use it). Its powerful blower is mounted on the roof, which will hopefully reduce the noise when it’s on. We chose a blower with a lower CFM rating since installing one with the maximum allowable capacity would have required more equipment for make-up air. Since the downstairs bathroom is quite small, I decided to get a wall-mounted toilet for it. Similarly, pocket doors were a good space-saving option.


